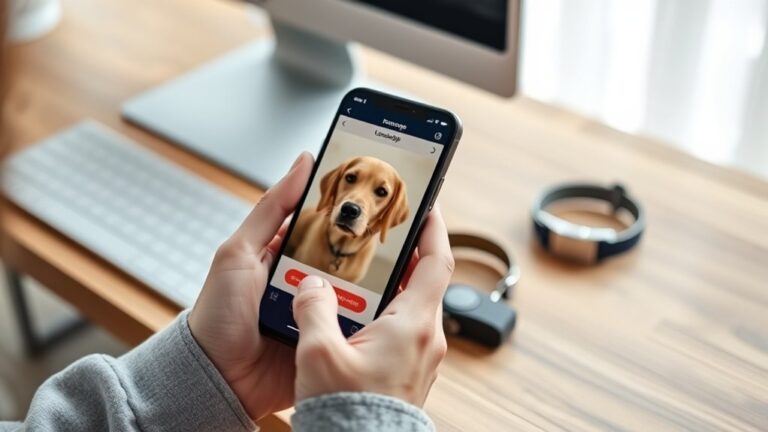
How to Locate a Dog With a Chip in 10 Easy Steps
Losing a dog can be one of the most stressful experiences for any pet owner. If you’ve ever worried about how to quickly find your furry friend, you’re not alone. Many people struggle with locating their pets, especially when time is of the essence.
Luckily, understanding how to locate a dog with a microchip can make all the difference and bring peace of mind in those frantic moments.
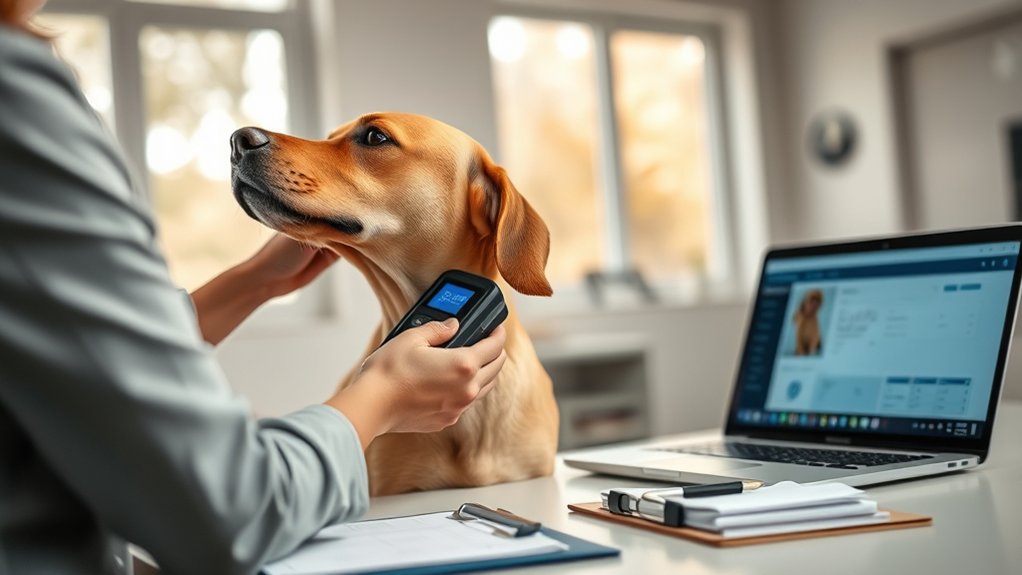
To locate a dog with a microchip, first check if it has one by scanning between its shoulder blades using a universal scanner. Visit a vet or shelter equipped with certified scanners for accurate results.
Thoroughly scan common implant sites, then contact the microchip registry to verify and update ownership info. Always keep the chip details accessible.
Taking these steps boosts the chances of a quick reunion. Keep going to find out how to make this process even smoother.
Key Takeaways
- Have a vet or shelter scan the dog using a universal microchip scanner to detect any implanted chip.
- Confirm the microchip number and verify ownership details through the microchip registry.
- Update contact information with the registry to ensure quick communication if the dog is found.
- Scan common implant sites thoroughly, including shoulder blades, neck, and hips, using proper techniques.
- Keep a list of certified facilities and emergency contacts for reliable microchip scanning and pet recovery.
Check If Your Dog Has a Microchip
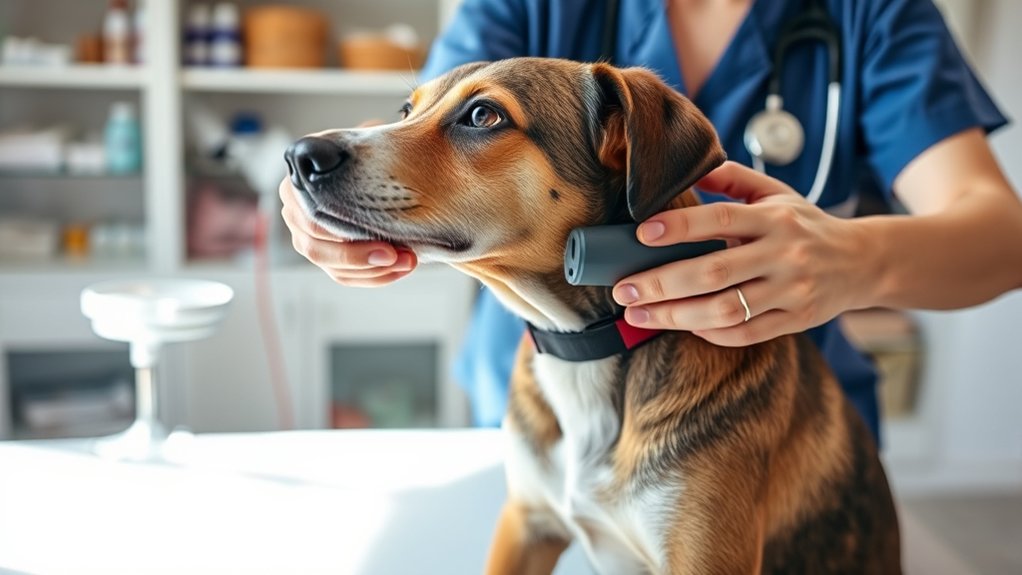
How can you tell if your dog has a microchip? The simplest way is to have your vet or a professional scan your dog with a microchip scanner. If your dog has one, the scanner will detect it immediately.
Microchip maintenance is essential. Make sure your contact information linked to the chip is up to date. This guarantees you can be reached if your dog ever goes missing.
Keep your contact info current on your dog’s microchip to ensure you’re reachable if they go missing.
Regularly verify your details with the microchip registry, especially if you move or change phone numbers. It’s also a good idea to include microchip information in your pet insurance records.
Many pet insurance providers require proof of identification, and having a microchip can help expedite claim processes if your pet is lost or injured. By confirming your dog’s microchip status and maintaining accurate information, you improve the chances of a safe return should the unexpected happen.
Don’t overlook this small but indispensable step in responsible pet ownership.
Find a Local Vet or Shelter With a Microchip Scanner
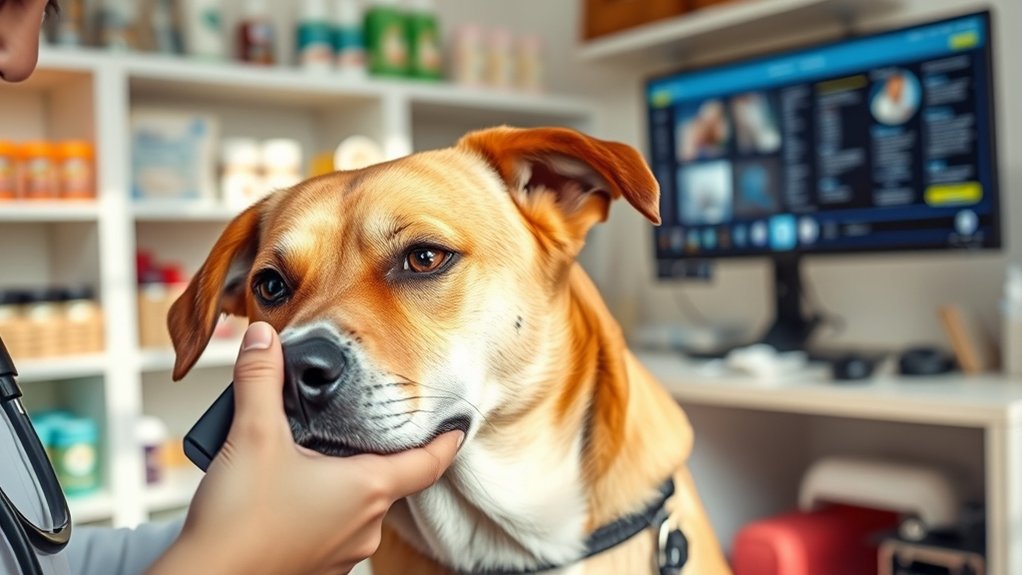
Once you’ve confirmed your dog has a microchip and updated your contact details, the next step is to locate a nearby vet or animal shelter equipped with a microchip scanner. Not every facility has the necessary equipment or meets the microchip regulations required for proper identification. Look for places where staff hold valid veterinary certifications, ensuring they’re trained to handle microchip scanning accurately and efficiently.
You can start by calling local veterinary clinics or animal shelters to ask if they have microchip scanners and compliant protocols. Many shelters and vets follow standardized microchip regulations, allowing them to read chips from various manufacturers. Some regions provide online databases or directories listing certified facilities, which can save you time.
Finding a certified location guarantees the scanner will detect your dog’s microchip, increasing the chances of a quick reunion if your dog ever goes missing. Always keep this info handy for emergencies.
Learn to Properly Scan Your Dog for a Microchip
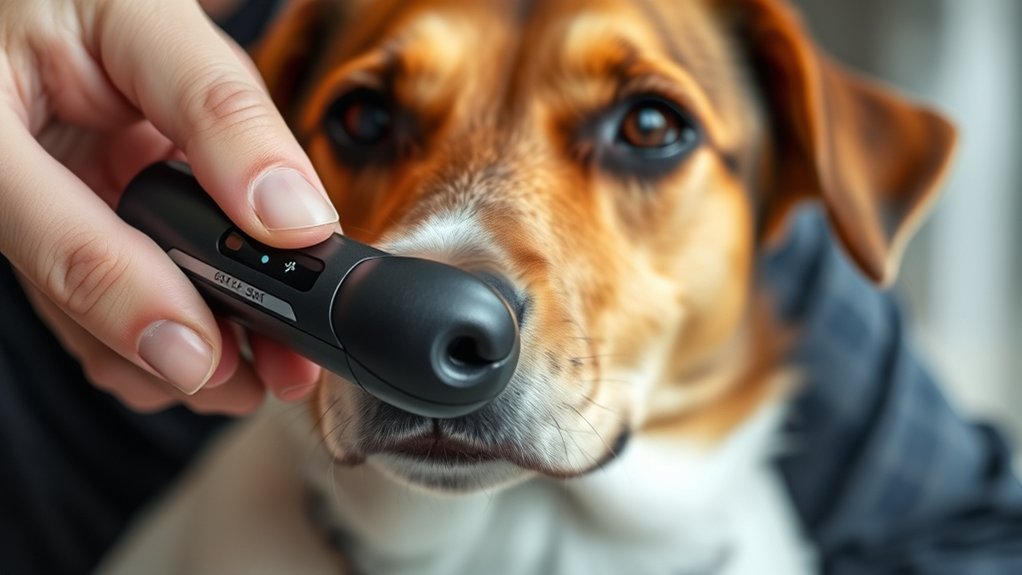
To properly scan your dog for a microchip, you’ll need the right scanner and the right technique. It’s not too complicated once you get the hang of it.
You’ll learn how to move the scanner over your dog’s body to catch the chip’s signal. Just take your time and be gentle so your dog stays comfortable.
Once you find the chip, you’ll know how to read the information it contains. It’s a simple process that can give you peace of mind knowing your dog is easily identifiable.
Choosing The Right Scanner
Although microchip scanners might seem similar, choosing the right one can make a big difference in quickly locating your dog’s chip. Not all scanners read every type of microchip technology, so you’ll want one compatible with the most common standards, like ISO-compliant chips.
This guarantees you don’t miss your dog’s unique dog identification number. Look for scanners with wide scanning ranges and reliable signal detection to save time and avoid repeated attempts. Portable, user-friendly models with clear displays help you read the chip ID easily, even if your dog’s nervous or moving.
Investing in a quality scanner means you’ll locate your dog’s microchip faster and with less hassle, providing peace of mind when pet safety matters most.
Scanning Techniques Explained
Before you start scanning, make sure your dog is calm and comfortable to make the process smoother. Hold the scanner close to your dog’s skin, usually between the shoulder blades, where microchips are typically implanted. Slowly move the scanner in a circular motion to cover the entire area.
Don’t rush. Consistent, even scanning helps guarantee you don’t miss the chip. Regular microchip maintenance is important; check your dog’s chip periodically to confirm it’s working and registered correctly.
If your scanner doesn’t detect a chip immediately, try scanning other common implant sites. Proper scanning techniques are essential for reliable dog identification, helping reunite lost pets with their owners quickly. Stay patient and gentle throughout to avoid stressing your dog.
Reading Microchip Information
Once you successfully locate the microchip, you’ll need to read the information it contains to identify your dog. Use a compatible scanner to retrieve the unique ID number embedded in the microchip.
Remember, proper microchip placement, usually between the shoulder blades, guarantees easy scanning. After you get the ID, check it against a microchip database to find the owner’s contact details.
Keep in mind that microchip costs vary, but the investment pays off by reuniting lost pets quickly. If the scanner doesn’t pick up a chip, try rescanning or using a different device, as some scanners only read specific chip types.
Always confirm the registration status to verify the microchip is active and linked to current owner information.
Use a Universal Microchip Scanner for Best Results
Why settle for limited results when you can use a universal microchip scanner to identify any dog’s chip? Microchip technology varies by manufacturer, and not all scanners read every type of chip. By using a universal scanner, you guarantee you capture accurate pet identification information regardless of the chip brand implanted.
This tool reads multiple frequencies and protocols, making it invaluable whether you’re at a shelter, vet clinic, or lost and found center. With a universal microchip scanner, you avoid the frustration of unrecognized chips and speed up the identification process. This helps reunite lost dogs with their owners faster.
Plus, it improves your ability to verify a dog’s identity reliably, which is essential for proper care and record-keeping. Investing in a universal scanner supports thorough microchip technology use, guaranteeing no pet’s chip goes undetected simply because of scanner limitations. Choosing this option is your best bet for accurate, efficient pet identification every time.
Scan Common Implant Sites on Your Dog’s Body
Where exactly should you scan your dog to find the microchip? Most microchips are implanted just under the skin between the shoulder blades, so start there. This common implant placement offers easy access and reduces discomfort for your dog during scanning.
However, depending on the microchip types used by different vets or shelters, chips might also be placed in other areas like along the side of the neck or sometimes near the hip. Familiarize yourself with these possible implant placements to avoid missing the chip.
Use your universal microchip scanner to slowly move over these common sites, making sure to cover the entire area thoroughly. Different microchip types operate on various frequencies, but a good scanner will detect them all.
Confirm and Record Your Dog’s Microchip Number
After you’ve thoroughly scanned the common implant sites and located the microchip, the next step is to confirm the chip number. Double-check the scanner’s display to verify you get a clear, complete sequence of numbers. This unique ID is vital for identification, so don’t rush.
Don’t fall for microchip myths that claim numbers can change or that scanning isn’t reliable. Modern microchip technology is designed to provide a stable, permanent ID. Once confirmed, write down the microchip number immediately and keep it somewhere safe.
You might also want to take a photo of the number on your scanner’s screen as a backup. By accurately recording the chip number, you’re making sure you can quickly prove ownership or assist in reuniting your dog if they get lost. This step is straightforward but essential, so handle it carefully to avoid mistakes that could complicate future searches.
Contact the Microchip Registry to Verify Ownership
Once you have the microchip number recorded, reach out to the microchip registry to verify your ownership. This step is crucial because microchip technology links your dog’s unique ID to your contact details, ensuring proper owner verification. Contacting the registry confirms that you’re listed as the rightful owner and that your dog’s information is accurate in their system.
When you contact the registry, keep these points in mind:
- Provide the microchip number exactly as it appears for accurate identification.
- Be prepared to verify your identity, which may include sharing personal details or proof of ownership.
- Confirm that the registry has your current contact information on file for efficient communication.
Update Your Contact Information With the Registry
Why is it important to update your contact information with the microchip registry? When you adopt a pet, your contact details are the key link between you and your dog if they get lost. Keeping this info current guarantees shelters or vets can quickly reach you.
It’s just as vital as training tips and proper care after pet adoption.
Here’s a simple table showing what to update and why:
| Information Type | Why Update? | Example |
|---|---|---|
| Phone Number | Quick contact in emergencies | New mobile number after moving |
| Address | Accurate location for returns | Moved to a new neighborhood |
| Email Address | Receive important updates | Changed email for better access |
Make it a habit to review your microchip registry info regularly. It’s a small step that safeguards your pet’s safe return and supports responsible pet adoption.
Ask Local Shelters and Vets to Scan Found Dogs for Microchips
If you find a lost dog or hear about one in your neighborhood, don’t hesitate to take it to local shelters or veterinary clinics to have it scanned for a microchip. Many shelters and vets routinely scan found dogs as part of their intake process, which helps reunite pets with their owners quickly. Microchip safety is a priority, and scanning guarantees the chip is working and registered correctly.
Taking lost dogs to shelters or vets ensures quick microchip scans, reuniting pets with owners safely.
By involving these professionals, you support microchip legislation efforts aimed at mandatory scanning and registration, improving pet recovery rates. When you bring a found dog in, you can:
- Guarantee the microchip is detected and verified properly
- Access updated databases that shelter staff or vets use
- Help enforce microchip legislation that promotes responsible pet ownership
Taking this step not only aids the lost dog but also strengthens community efforts toward better microchip safety and compliance.
Keep Your Dog’s Microchip Information Easily Accessible
Although microchips greatly increase the chances of finding a lost dog, you need to keep your pet’s microchip information easy to access and up to date. Make sure your contact details are current in the microchip registry so shelters and vets can reach you quickly.
Keep a physical copy of the microchip number and registration info in a safe, visible place, like your wallet or a home binder. This way, if someone finds your dog, they can scan the chip and contact you without delay.
Regular dog training sessions can help your pet stay calm if they get lost and are found by strangers or officials. Also, maintaining good pet nutrition supports your dog’s overall health, making them more resilient during stressful situations like being lost.
Frequently Asked Questions
How Long Does a Microchip Last in a Dog?
A microchip’s durability in your dog usually lasts a lifetime, often 10 to 15 years or more. Implant longevity depends on the chip’s quality and proper placement under the skin.
Once implanted, it doesn’t need batteries or maintenance, so you can count on it staying functional for many years. Just make sure to keep your contact information updated with the microchip registry to guarantee it works when you need it most.
Can Microchips Be Detected Through Clothing or Blankets?
Imagine scanning your dog through thick layers. Can the microchip still beep? Yes, you can detect a microchip through clothing or blankets, but clothing interference and blanket insulation may weaken the scanner’s signal.
While light fabrics usually don’t block detection, heavy or multiple layers can cause some trouble. To get the best read, gently move the scanner closer to your dog’s skin, minimizing any barrier that might disrupt the chip’s signal.
Are There Any Health Risks Associated With Dog Microchips?
You shouldn’t worry much about health risks with dog microchips. Potential allergic reactions are extremely rare, and vets monitor for any signs after implantation.
Microchip migration risks exist but are minimal; the chip usually stays where it’s placed under the skin. If you notice swelling or discomfort, contact your vet immediately.
How Much Does It Cost to Microchip a Dog?
Microchip implantation usually costs between $25 and $50, but prices can vary depending on your vet or shelter. When you get your dog microchipped, don’t forget about microchip registration. It’s often an additional fee, around $10 to $20, to guarantee your pet’s info is up to date in the database.
Registering your dog increases the chances of a quick reunion if they ever get lost, making the small cost well worth it.
Can a Microchip Be Removed or Replaced if Needed?
You might find yourself wanting a fresh start for your pup’s ID, and yes, microchip removal or microchip replacement is possible, but it’s not a simple switch. Since chips are designed to be a lifelong companion, removal usually requires a minor procedure under anesthesia.
Replacement typically happens only if the chip malfunctions or you need updated info. Always consult your vet to consider the safest options for your furry companion.
Conclusion
Finding your dog with a microchip might seem tricky, but it’s actually straightforward and worth the effort. You might think scanning sounds complicated, but vets and shelters handle it all the time and make it easy.
By following these steps, you’re giving your canine companion the best chance of being safely returned if they ever get lost. Keep their chip info updated and accessible. You’ll thank yourself later when you need to locate a dog with a chip quickly and efficiently.